

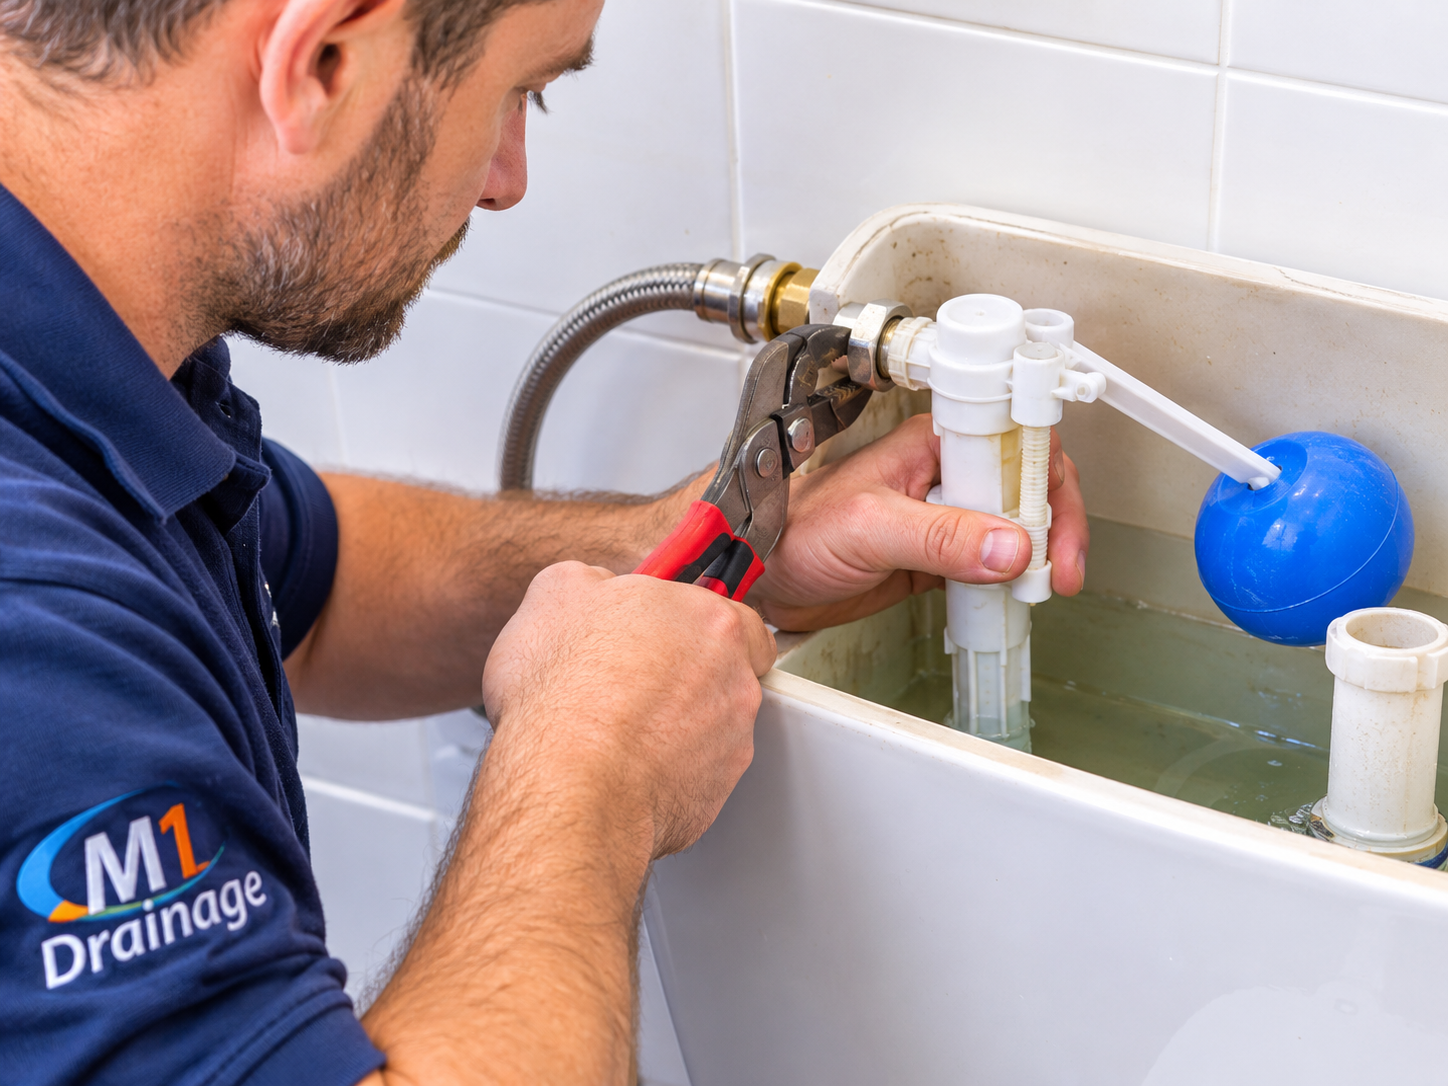
If you hear a constant, gentle trickle of water running into your toilet bowl long after you've flushed, or if your cistern takes forever to fill up, you likely have a failing ballcock valve (more commonly referred to modernly as a toilet fill valve or float valve).
While the term sounds a bit old-school, the ballcock is one of the hardest-working plumbing components in your home. When it breaks down, it can waste hundreds of gallons of water, drive up your utility bills, and potentially cause an annoying overflow.
In this expert guide from M1 Drainage Service, we break down why ballcocks perish, the signs of a broken ballcock, how to handle a ballcock repair or ballcock replacement, a DIY guide on how to change a ballcock yourself, and when it’s time to call in a professional.
What is a Ballcock and What Does It Do?
Inside your toilet cistern (tank), the ballcock valve is the mechanical assembly responsible for controlling the water intake. Traditionally, it consists of a brass or plastic valve attached to a buoyant plastic or copper "ball" (the float).
As water fills the tank, the ball rises. Once the water reaches the correct level, the ball pushes the ballcock valve shut, cutting off the water supply. When you flush, the water level drops, the ball falls, and the valve opens to refill the cistern.
Because this valve is under constant mains water pressure every single day, wear and tear is inevitable.
Why Do Ballcocks Perish? (Top 4 Causes)
Over time, toilet ballcock assemblies degrade and fail. The most common reasons include:
Rubber Seal and Washer Perishing: The internal rubber diaphragms and washers harden, crack, or perish due to constant contact with water and high-pressure friction. Once the seal perishes, water slips past the valve even when closed.
Hard Water Limescale Build-Up: Across Milton Keynes, Bedford, and surrounding hard water areas, calcified limescale builds up rapidly on the internal moving parts of the ballcock valve, causing the float arm to jam or stick.
Plastic Fatigue & Mineral Corrosion: Older plastic mechanisms become brittle and snap under pressure, while older brass or copper units can suffer from mineral corrosion and pinhole leaks.
Misaligned or Waterlogged Floats: If the plastic ball fills with water (waterlogging) or the float arm gets bent, it cannot rise high enough to trigger the ballcock valve to close.
4 Warning Signs You Need a Ballcock Replacement
How do you know your toilet cistern is crying out for attention? Watch out for these red flags:
Constant Running Water: A faint hissing or running sound that never stops, wasting water directly into the pan.
Slow Filling Cistern: Taking 10 minutes or more to refill after a flush.
Water Overflowing Down the Overflow Pipe: The cistern fills past the maximum line and pours down the safety overflow, often leaking down the outside of the toilet bowl.
Stuck or Jammed Lever: The float arm gets caught against the cistern wall, leaving the water permanently turned on or off.
Can You Do a DIY Ballcock Repair, or Do You Need a Replacement?
If the issue is simply a minor obstruction or a slightly misaligned float arm, a quick adjustment or cleaning might buy you some time. However, if the rubber washers have perished or the plastic body has cracked, a temporary ballcock repair won't last.
When parts are worn out, a complete ballcock replacement using a modern, quiet brass-shank or high-quality plastic diaphragm valve is always the most permanent, cost-effective solution.
Step-by-Step Guide: How to Change a Ballcock Yourself
If you are reasonably handy and want to attempt a DIY ballcock replacement, follow these steps carefully:
Turn Off the Water Supply: Locate the isolation valve on the copper pipe feeding your toilet cistern and turn it clockwise. If there is no isolation valve, you will need to turn off your home’s main stopcock.
Drain the Cistern: Flush the toilet and hold the handle down to empty as much water as possible out of the tank. Sponge out any remaining puddles at the bottom with an old towel.
Disconnect the Water Supply Pipe: Place a towel and a small bucket underneath the cistern. Unscrew the flexible supply hose or copper connector nut attached to the bottom or side inlet of the old ballcock valve.
Remove the Old Ballcock Assembly: Unscrew the large plastic or brass retaining nut on the outside of the cistern that holds the fill valve in place. Lift the old broken ballcock out of the tank.
Install the New Ballcock Valve: Insert your new replacement fill valve into the cistern hole, ensuring the rubber sealing washer is positioned correctly on the inside to prevent leaks. Hand-tighten the backnut, then give it a gentle quarter-turn with a spanner (do not overtighten, as this can crack ceramic cisterns).
Reconnect and Test: Reconnect your water supply hose, turn the mains water back on, and let the cistern refill. Check the water stop level (it should sit about 1 inch below the overflow pipe) and inspect all connections for leaks.
Prefer a Professional? We Offer Complete Ballcock Replacement Services
If DIY plumbing sounds like a headache, or if your toilet isolation valve is seized, rusted, or leaking, M1 Drainage Service is here to help!
Alongside our emergency drainage and gutter clearance, we provide fast, professional plumbing services across Milton Keynes, Bletchley, Bedford, Luton, and Northampton. Whether you need a simple ballcock repair, a full ballcock replacement, or a brand-new fill valve installed, we offer:
£0 Call-Out Charge
Free Initial Investigation & Transparent Upfront Pricing
No Fix, No Fee Guarantee
Reliable Local Engineers with 110+ 5-Star Google Reviews
Get in Touch With M1 Drainage Service Today
Don't let a running toilet waste your water or inflate your bills. Speak directly with our local team:
📞 Call Direct: 07754 856275
💬 WhatsApp (Send a Photo for an Instant Quote): 07754 856275
✉️ Email: [email protected]
🌐 Website: M1 Drainage Service
Explore More Helpful Advice & Related Blogs
Need pricing details for other indoor plumbing jobs? Check out our guide on Plumber Near Me & Prices: Transparent Rates Across Milton Keynes & Bucks.
Dealing with multiple slow fixtures? Read our advice on Unblock Drains Near Me: Fast Local Emergency Clearing & Fixed Pricing.
Worried about corrosive liquids? Read Drain Cleaner Unblocker: Why Chemical Liquids Fail & Safe Professional Solutions.
Wondering who is responsible for exterior pipes? Read our guide on Anglian Water Advice: Dealing With Private Drain Blockages.
